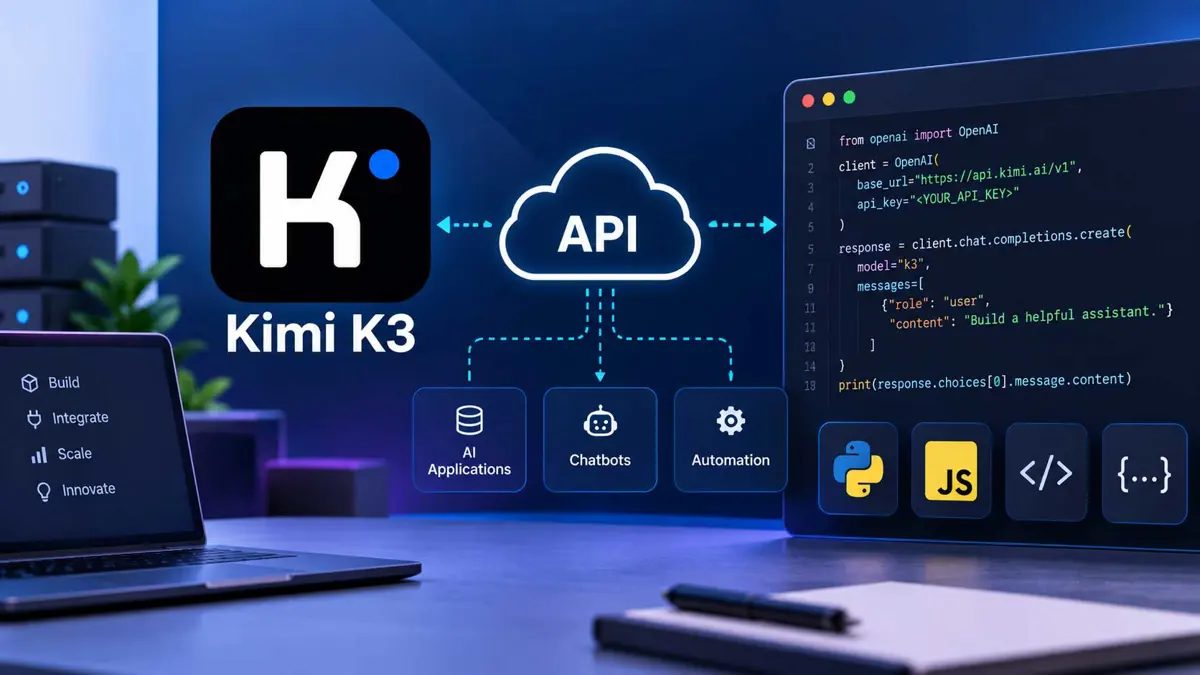
Kimi K3 API: How to Get Started and Use It in Your Apps
Connect to Kimi K3 through Kimi Code's API and make your first OpenAI-compatible request.

k3, and send your first request.Kimi K3 API access lets developers call Kimi's K3 coding model from tools and applications instead of using only the Kimi Code interface. Kimi's current documentation says Kimi Code exposes both OpenAI-compatible and Anthropic-compatible APIs, with k3 as the model ID for K3. Kimi Code API documentation
Kimi K3 API Setup: What You Need
Before sending a request, make sure you have an active Kimi membership with Kimi Code benefits and an API key created in the Kimi Code Console. Kimi says API keys can be created and managed in the console, with up to five keys; the full key is shown only when it is created, so store it somewhere secure. Kimi Code membership guide
- A Kimi membership that includes Kimi Code access.
- A Kimi Code API key.
- A terminal or development environment for testing requests.
- A Python environment if you want to follow the Python example below.
Do not paste your API key into source code, commit it to Git, or place it in a public client-side application. Use an environment variable or a server-side secret store instead.
Kimi Code API vs Kimi Platform
There are two Kimi developer services that are easy to confuse. Kimi Code provides API access tied to its coding-focused membership benefits and exposes coding endpoints at api.kimi.ai or api.kimi.com. Kimi's documentation separately points developers building their own products or needing pay-as-you-go usage toward the Kimi Platform, which uses api.moonshot.ai or api.moonshot.cn. The Kimi documentation does not say that the Kimi Platform currently exposes the same K3 model ID, so this guide uses the Kimi Code API when demonstrating Kimi K3.
If the goal is a coding tool, terminal agent, or development workflow, the Kimi Code API is the relevant path. For broader application integration, check the current Kimi Platform documentation before choosing a billing and API route. This distinction also matters when troubleshooting credentials because Kimi says the two services use different keys and Base URLs. Kimi Code API overview
Choose an API Endpoint
Kimi Code currently supports both OpenAI-compatible and Anthropic-compatible protocols. For an OpenAI-compatible client, the overseas Base URL is https://api.kimi.ai/coding/v1; for China, Kimi documents https://api.kimi.com/coding/v1. The Anthropic-compatible Base URLs are https://api.kimi.ai/coding/ and https://api.kimi.com/coding/, respectively. Kimi Code model configuration
| Protocol | Overseas Base URL | Typical use |
|---|---|---|
| OpenAI compatible | https://api.kimi.ai/coding/v1 | OpenAI SDKs and Chat Completions-compatible clients |
| Anthropic compatible | https://api.kimi.ai/coding/ | Anthropic-compatible tools such as Claude Code |
Kimi Code keys and Base URLs are separate from Kimi Open Platform credentials. Mixing them can produce authentication or membership errors.
How to Create a Kimi K3 API Key
Kimi's current instructions say to create API keys from the Kimi Code Console. The exact console layout can change, so use the current console labels rather than relying on an old screenshot or menu path.
- Open the Kimi Code Console from Kimi's developer documentation.
- Sign in to the Kimi account that has Kimi Code access.
- Find the API key management area and choose the option to create an API key.
- Give the key a recognizable name and confirm its creation.
- Copy the key immediately and store it in a password manager or server-side secret store.
Kimi's documentation says the complete API key is displayed only once when it is created. If the original value is lost, create or rotate a key rather than placing a guessed or partial key into your application. Kimi Code API access details
Set Up the Kimi K3 API in a Terminal
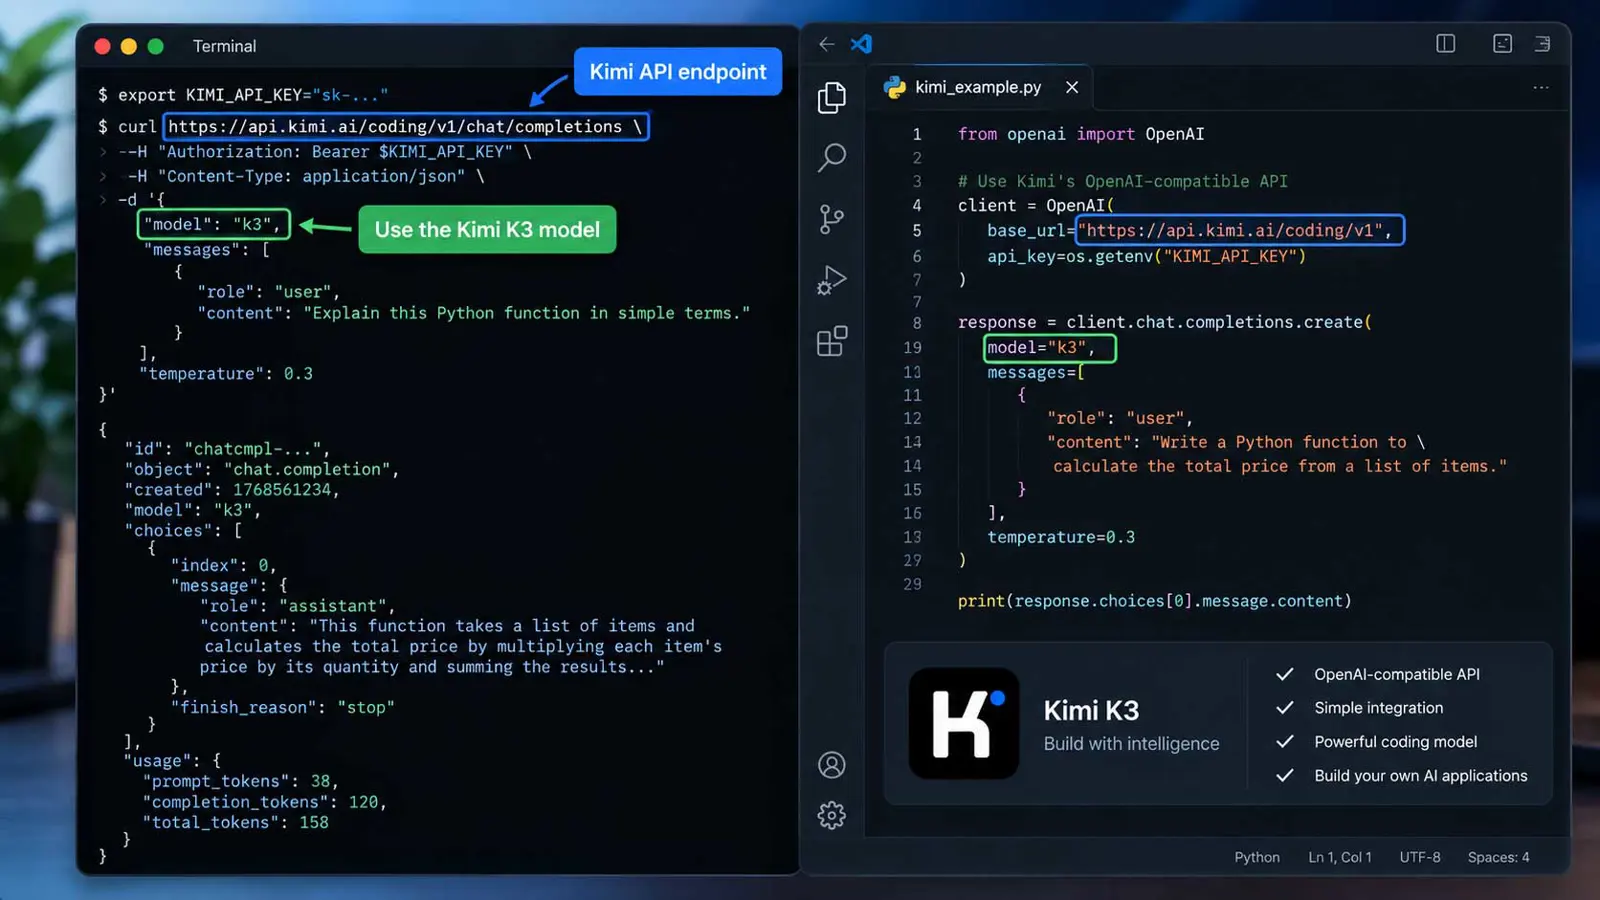
The safest simple setup is to keep the key in an environment variable. The example below uses the overseas OpenAI-compatible endpoint.
export KIMI_API_KEY="YOUR_KIMI_API_KEY"

curl https://api.kimi.ai/coding/v1/chat/completions \
  -H "Authorization: Bearer $KIMI_API_KEY" \
  -H "Content-Type: application/json" \
  -d '{
    "model": "k3",
    "messages": [
      {
        "role": "user",
        "content": "Explain this Python function in simple terms."
      }
    ]
  }'
The important parts are the Base URL, the Bearer token, and the model value. Kimi's current API documentation lists k3 as the K3 model ID and says the OpenAI-compatible endpoint follows the Chat Completions path. Kimi Code API documentation
Use Kimi K3 From Python
If your application already uses the OpenAI Python SDK, the OpenAI-compatible Kimi Code endpoint can be configured with a custom base_url. Keep the API key outside the source file.
import os
from openai import OpenAI

client = OpenAI(
    api_key=os.environ["KIMI_API_KEY"],
    base_url="https://api.kimi.ai/coding/v1",
)

response = client.chat.completions.create(
    model="k3",
    messages=[
        {
            "role": "user",
            "content": "Write a Python function that calculates the total price of a list of items.",
        }
    ],
)

print(response.choices[0].message.content)
The SDK handles the HTTP request while the custom Base URL routes it to Kimi's OpenAI-compatible service. The key remains in the environment rather than inside the application code.
Use Kimi K3 From JavaScript or Node.js
The same OpenAI-compatible pattern works with the OpenAI JavaScript SDK. Install the SDK, set the API key as an environment variable, and point the client at Kimi's Base URL.
import OpenAI from "openai";

const client = new OpenAI({
  apiKey: process.env.KIMI_API_KEY,
  baseURL: "https://api.kimi.ai/coding/v1",
});

const response = await client.chat.completions.create({
  model: "k3",
  messages: [
    {
      role: "user",
      content: "Review this function and suggest a simpler implementation.",
    },
  ],
});

console.log(response.choices[0].message.content);
For production applications, keep this call on a trusted server or backend. Putting the secret in browser JavaScript or a mobile app gives users a path to extract the key.
Pick the Right Kimi K3 Context Size
Kimi currently documents two K3 model IDs: k3 and k3-256k. The standard k3 model can provide up to 1M tokens for eligible higher membership tiers, while k3-256k is the 256K-context version. Kimi says k3 consumes about twice as much quota as k3-256k, making the smaller context option more appropriate for routine tasks that do not need a very large prompt. Kimi K3 pricing and plans
| Model ID | Context | Good fit |
|---|---|---|
k3 | Up to 1M for eligible tiers | Large codebases, multi-file work, long documents |
k3-256k | 256K | Routine coding, smaller projects, everyday requests |
For background on why K3 is designed around long-context coding and agent workflows, see our overview of Kimi K3's model architecture and coding capabilities. The API choice does not change the model's underlying capabilities; it changes how the model is accessed.
What You Can Build With the Kimi K3 API
The API becomes useful when Kimi K3 is one component inside a larger development workflow. Examples include:
- Code-review helpers that send selected files to Kimi K3 and return review notes.
- Internal developer tools that explain functions, tests, logs, or stack traces.
- Coding agents that combine model calls with repository tools and a controlled execution environment.
- Documentation tools that turn source code into API references or migration notes.
- Backend services that summarize or transform long technical documents.
For an interactive coding workflow rather than direct API integration, our guide to using Kimi K3 with Kimi Code covers the developer-facing interface. Developers already using GitHub's multi-model workflow can also see how Kimi K3 works inside GitHub Copilot.
Kimi K3 API vs Kimi Code
The API and Kimi Code are related, but they solve different problems. Kimi Code's Desktop, CLI, and VS Code experiences provide an agent-style development environment. The API gives third-party tools a way to send model requests through compatible protocols. Kimi's own documentation describes the API as a way to integrate Kimi Code model capabilities into third-party development tools and platforms. Kimi Code overview
| Need | Use |
|---|---|
| Chat with Kimi while working in a project | Kimi Code Desktop, CLI, or VS Code |
| Connect a coding tool to Kimi | Kimi Code API |
| Build a broader product integration | Evaluate the Kimi Platform separately |
That distinction is also why a direct API setup should not be treated as a replacement for the full Kimi Code workflow. Our Kimi Code vs Claude Code comparison looks at those agent-style workflows in more detail.
Troubleshooting the Kimi K3 API
401 Authentication Error
Check that the API key is complete, active, and being sent as a Bearer token. Kimi says the full key is only shown once at creation, so create a replacement key if the original value is unavailable. Also check that the key came from the Kimi Code Console rather than the separate Kimi Open Platform.
Model Not Found
Check the model ID exactly. For the Kimi Code API examples in this guide, use k3 for Kimi K3 or k3-256k for the 256K K3 variant. Do not copy a model name shown in a product interface if the API documentation uses a different identifier.
Membership or 402 Error
A 402 response can indicate that the service cannot verify the account's Kimi Code membership benefits. Kimi recommends checking that the membership is active and retrying. If the problem continues, use Kimi's support path. Kimi Code error reference
The Request Uses the Wrong Endpoint
If a Kimi Code key is paired with https://api.moonshot.ai/v1, you are mixing Kimi Code and Kimi Open Platform configuration. Kimi documents those as separate services with different credentials and Base URLs. Kimi Code FAQ
Tips for Using Kimi K3 in an Application
- Keep API keys server-side and load them through environment variables or a secret manager.
- Set timeouts and retry policies in your application rather than assuming every request will complete immediately.
- Log request IDs and error responses without logging the API key or sensitive prompt content.
- Choose
k3-256kwhen the task does not need the larger context window and your account supports it. - Treat model IDs and endpoint details as configuration values so they can be changed without rewriting application logic.
- Check Kimi's current documentation before deploying because model availability, membership requirements, endpoints, and limits can change.
Frequently Asked Questions
Does Kimi K3 have an API?
What model ID should I use for Kimi K3?
k3. Kimi also documents k3-256k as the 256K-context K3 variant.Can I use an OpenAI SDK with Kimi K3?
Is the Kimi Code API the same as the Kimi Platform API?
Bottom Line
The Kimi K3 API setup is straightforward once the service distinction is clear: create a Kimi Code API key, choose the correct protocol and Base URL, set the model to k3, and keep the credential outside your source code. For developers who want an agent-style coding environment instead of direct API calls, Kimi Code remains the simpler starting point.